
Getting Started
Raia consists of different components:
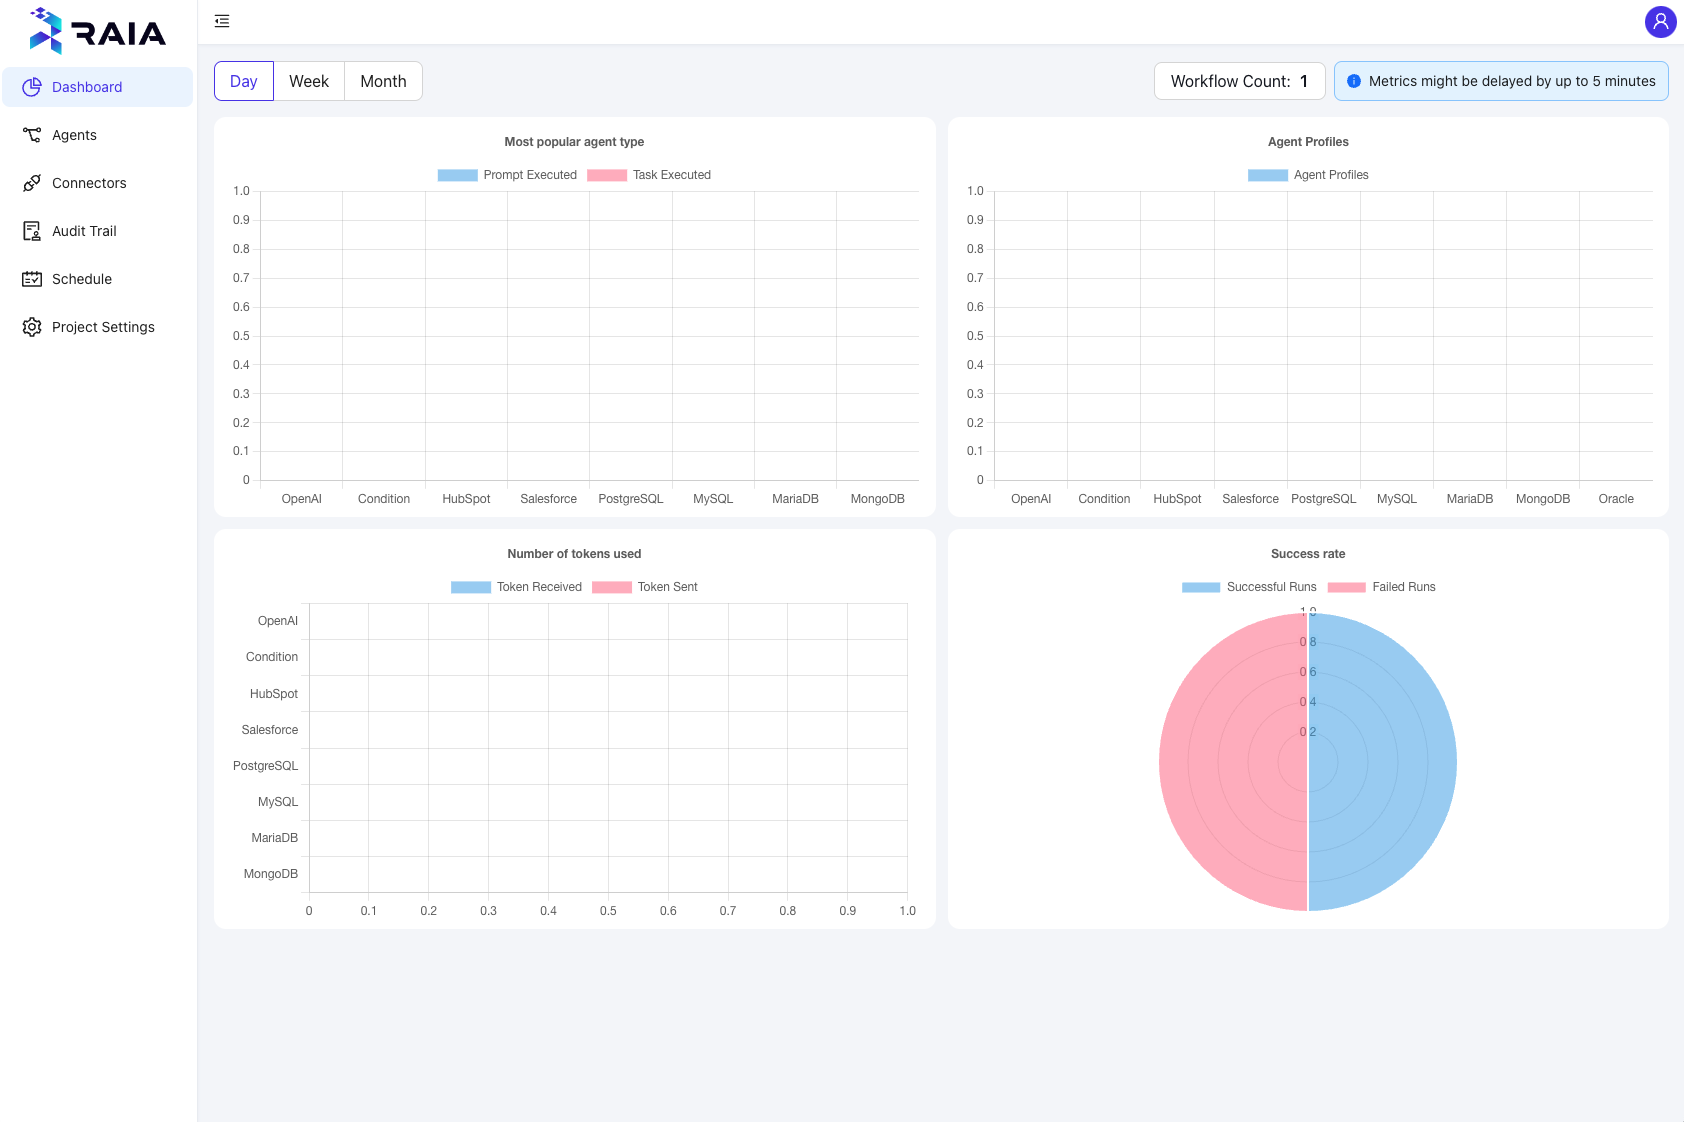
- The Raia Dashboard, which provides a web interface to create, maintain, and debug Raia Agents.
- The Connectors, which provide your Raia Agents with access to your data and systems
- Workflows, which is how you teach your Autonomous Agents what they should do
- Raia Agent Manager, which you can connect to your communication applications and talk to, just like talking to a team member
Setting up your account
Head over to the Raia Dashboard and sign up for a free account. You can log in with your Google or GitHub accounts.
Once you sign up, your account is ready to go.
Connecting Raia to Your Data
Before you create your agents, you'll need to give Raia access to the underlying data sources you want your agents to connect to and work with. This can be done by using the Connectors page
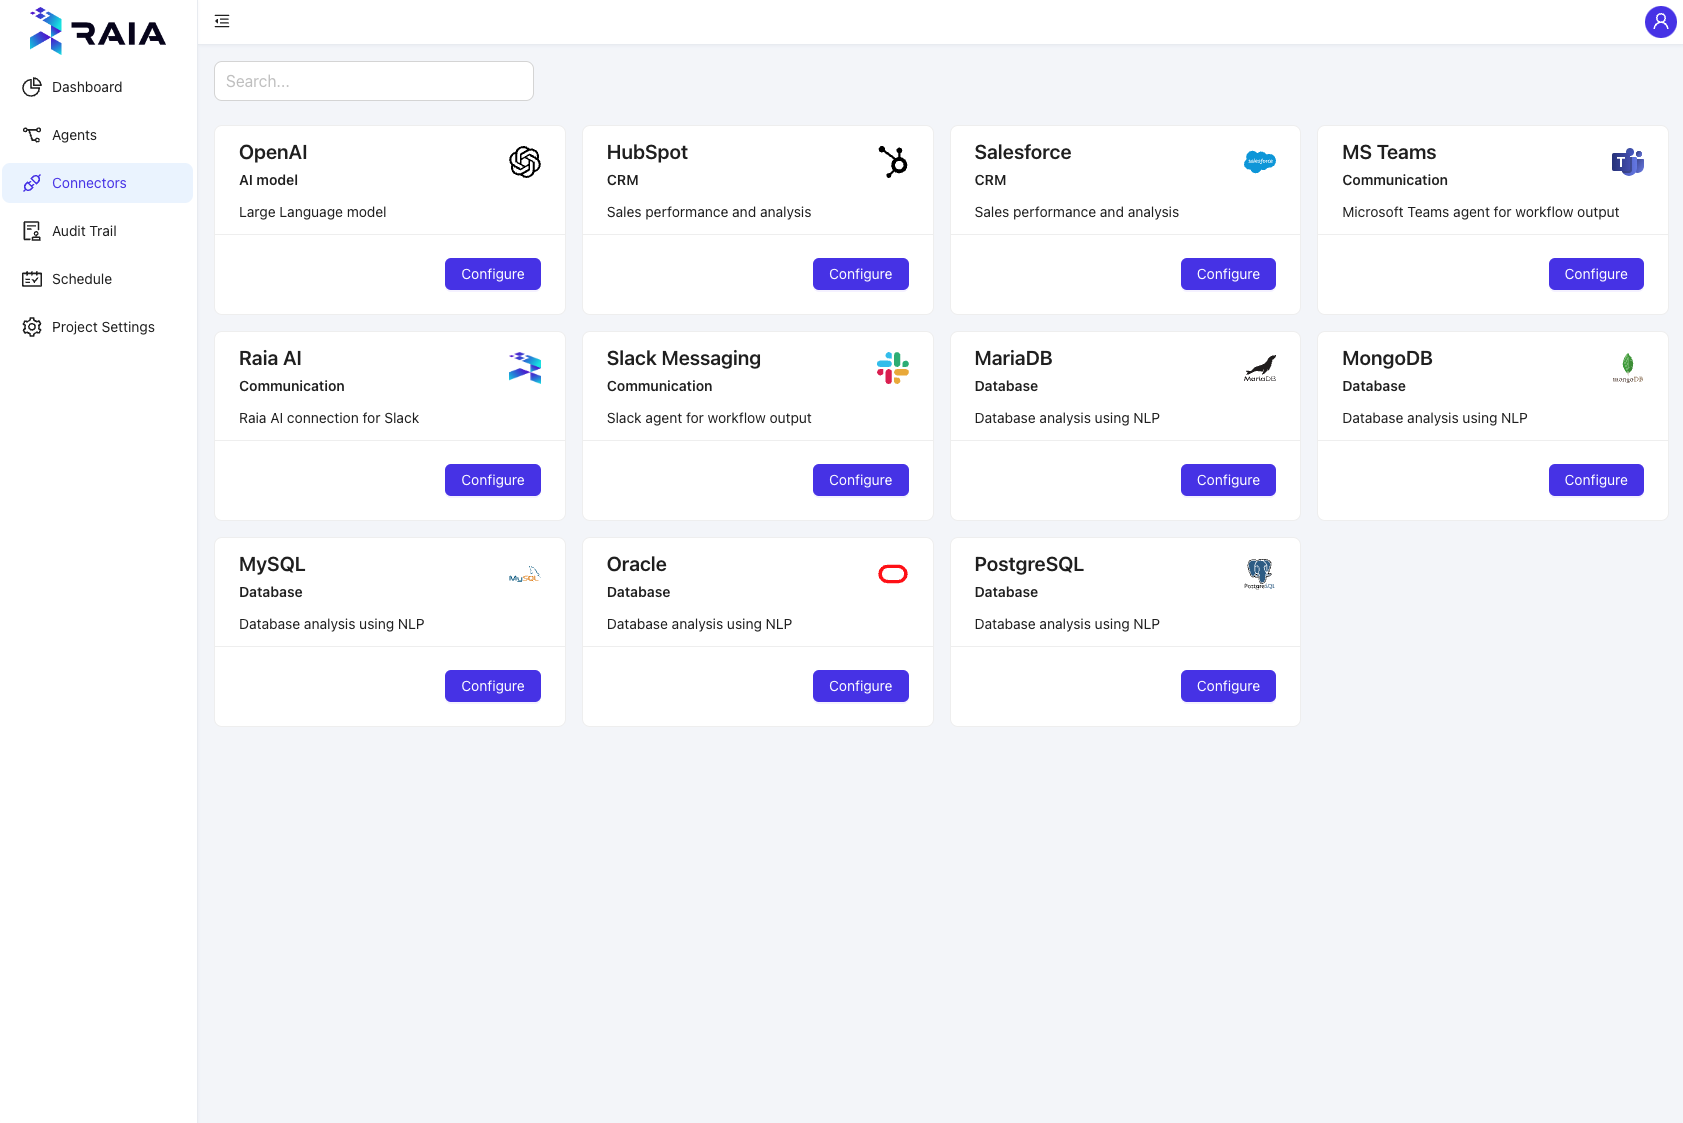
You can choose which connectors to enable and configure based on what you need.
Connecting to your LLM
As part of the free account, Raia supports OpenAI as your base LLM.
By clicking on the Configure button on the OpenAI connector card, you can create a new connection from Raia to your OpenAI account.
Raia should prompt you to enter a connector name and OpenAI API Key.
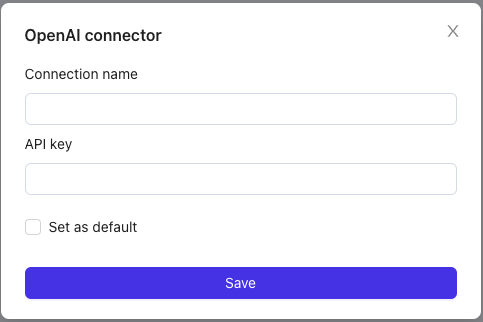
You can choose a name that helps you identify that connection later on. You can create an OpenAI API Key through the OpenAI dashboard using the API Key menu option and clicking on Create New Secret Key
Once created, enter the Key in the API Key field on the Raia dashboard.
As this is your only connection to your LLM, check the Set as default box and click on Save
OpenAI LLM connectionWhile the other connectors are option and based on your use case, connecting to an LLM is required for Raia agents to work.
Creating Agents
With your LLM connection configured and your initial data sources selected, you can click on Agents to create your first agent and give it it's tasks
You can also find detailed information about Raia Agents here
Updated about 1 year ago